

Code tools
Code tools let your agent run custom JavaScript in a sandboxed server-side environment, without you having to stand up and host your own webhook endpoint. Write the logic once in the built-in code editor, and ElevenLabs executes it whenever the agent calls the tool.
Overview
A code tool is a JavaScript function that runs when the agent calls it. You write the whole function body, so the tool can do as much or as little as the task requires:
- Custom calculations: apply pricing rules, unit conversions, scoring logic, or date math using only the tool-call parameters. No network access required.
- Calling external APIs:
fetchfrom allowlisted domains, with workspace secrets and auth connections injected into the function’s context. - Combining multiple sources: call two or three APIs and merge, compare, or reconcile their results before returning a single answer.
- Conditional branching: run different logic depending on the tool-call parameters, without needing a separate tool per branch.
- Reshaping data: return exactly the structure you want the agent to see, rather than a raw upstream response.
For a single external API call with no custom logic, webhook tools are usually simpler to set up. To trigger actions in a user’s browser or app, use client tools instead.
How it works
Your code is a JavaScript module that exports a single default async function. The function receives a ctx object and returns the tool’s result:
The value you return becomes the tool’s result. It’s passed back to the agent, shown in the conversation transcript, and can be used for dynamic variable assignment.
The ctx object
ctx is your entry point to everything the tool can access at call time. The parameters the agent provides always arrive in ctx.args; secrets, config values, and auth connections are optional, and appear only if you map them in the tool’s Context object section.
Only ctx.args is visible to the agent when it calls the tool. Secrets, config values, and auth
connections are never revealed to the agent.
Configuring parameters
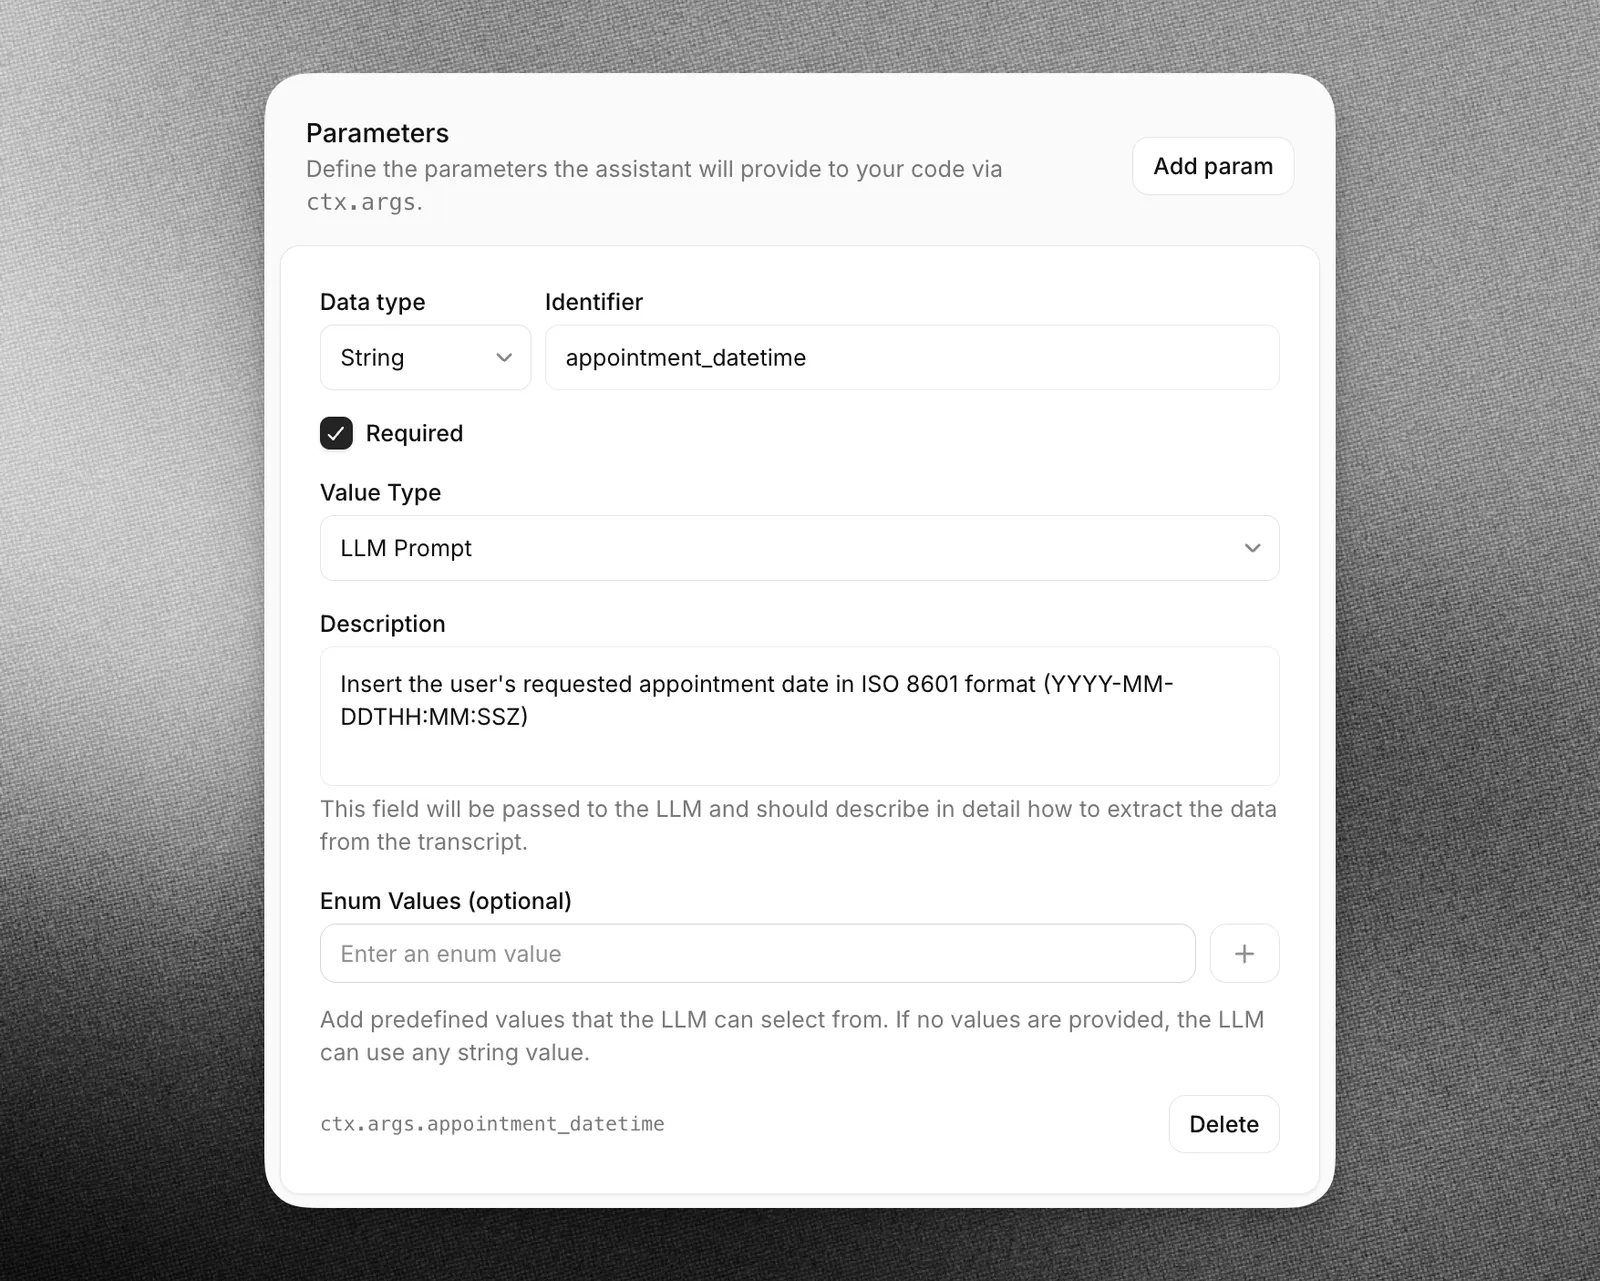
Parameters are the values the agent supplies when it calls the tool, and they arrive in ctx.args. Define them in the Parameters section of the tool configuration form, or in the code editor under the Params tab, in the Define Params sub-tab. Each parameter takes a data type, an identifier, and a description that the agent uses to determine the correct value from the conversation. Your code reads that value under the identifier, such as ctx.args.appointment_datetime below.
Configuring the context object
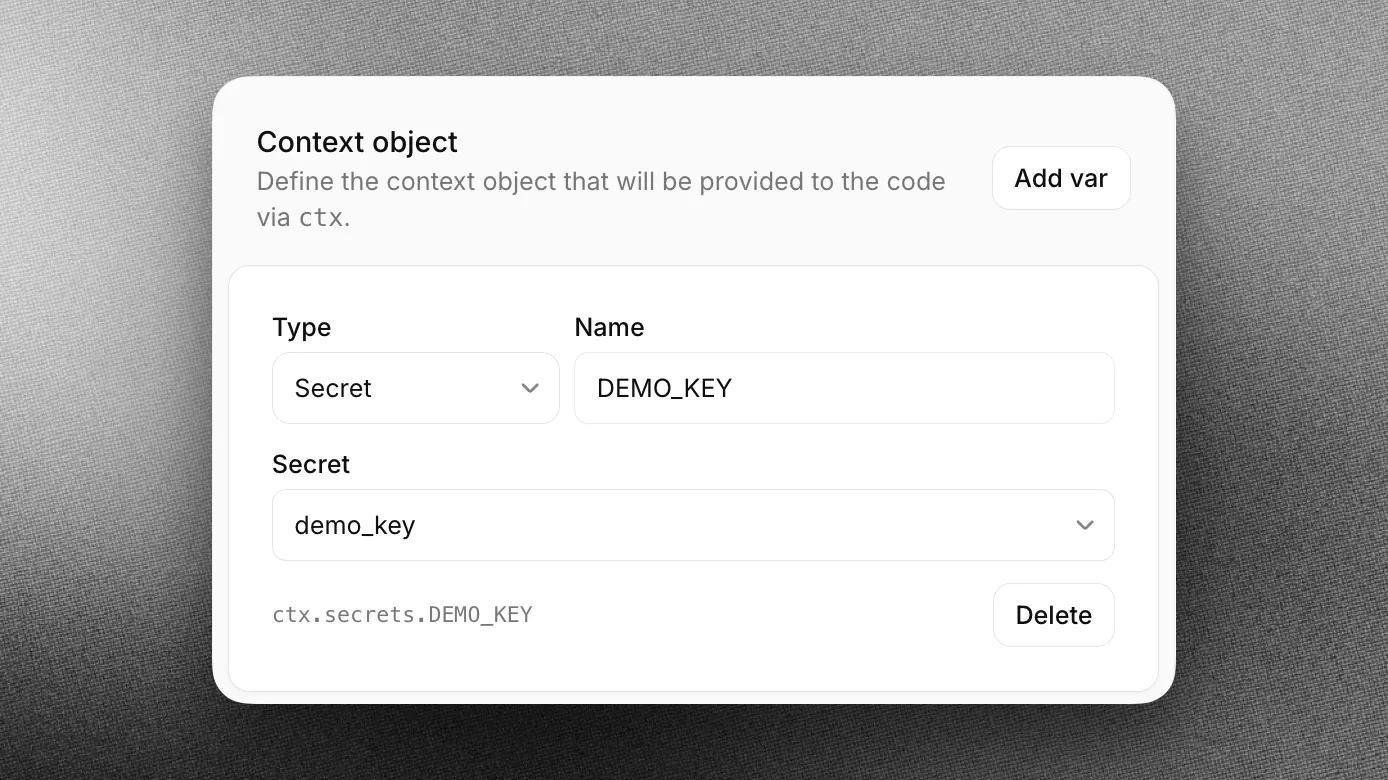
Add secrets, config values, and auth connections in the tool’s Context object section. Each entry takes a type and a name. The panel shows the exact accessor for each entry, such as ctx.secrets.DEMO_KEY below.
Network access
Code running in the sandbox can only reach domains your workspace has explicitly allowed. Add the domains your code needs to call in your ElevenAgents Settings, under Code Tool Network Access. A request to any other domain fails.
Execution limits
- Timeout: each run must complete within the tool’s configured response timeout, from 1 up to 30 seconds.
- No external packages: code tools currently run without npm dependencies.
Testing your code
Before saving, use Run in the code editor to execute your code with sample parameter values:
- Params — set test values for each parameter your tool defines.
- Output — see the returned result, or the error if execution failed.
- Logs — see anything written with
console.log,console.warn, orconsole.error, plus build and execution timing.
Guide
In this guide, we’ll create a code tool that converts a temperature and returns a friendly, formatted string:
Create a new code tool
On the Agent section of your agent settings page, choose Add Tool. Select Code as the Tool Type, then set a name and description:
Authentication examples
Calling an API with a secret
Map EXAMPLE_API_KEY to a workspace secret in the tool’s Context object section, then add api.example.com to Code Tool Network Access so the request is allowed to egress. The value you reference is a placeholder: the real secret is substituted into the header on egress, and is never visible to your code.
Calling an API with an OAuth auth connection
Map EXAMPLE_CRM to a configured auth connection in the tool’s Context object section. The value you reference is a placeholder: the real credential is substituted into the header on egress, and is never visible to your code.
Best practices
Name tools intuitively, with detailed descriptions
If you find the assistant does not make calls to the correct tools, you may need to update your tool names and descriptions so the assistant more clearly understands when it should select each tool. Avoid using abbreviations or acronyms to shorten tool and argument names.
You can also include detailed descriptions for when a tool should be called. For complex tools, you should include descriptions for each of the arguments to help the assistant know what it needs to ask the user to collect that argument.
Name tool parameters intuitively, with detailed descriptions
Use clear and descriptive names for tool parameters. If applicable, specify the expected format for a parameter in the description (e.g., YYYY-mm-dd or dd/mm/yy for a date).
Consider providing additional information about how and when to call tools in your assistant’s system prompt
Providing clear instructions in your system prompt can significantly improve the assistant’s tool calling accuracy. For example, guide the assistant with instructions like the following:
Provide context for complex scenarios. For example:
LLM selection
When using tools, we recommend picking high intelligence models like GPT 6 or Claude Sonnet 5.5.
It’s important to note that the choice of LLM matters to the success of function calls. Some LLMs can struggle with extracting the relevant parameters from the conversation.